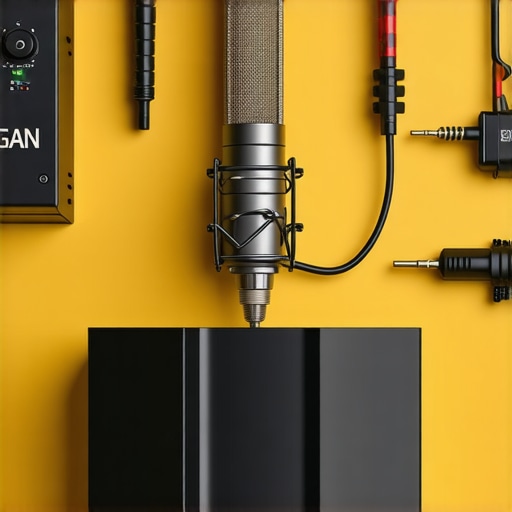
It was a typical podcast recording evening when I hit a wall. My voice sounded muffled, distant—like I was talking through a thick blanket. Frustration crept in as I fiddled with my gear, trying to get that crisp, professional sound. Then it hit me: my power supply was the bottleneck. I realized, if I wanted crystal-clear voice recordings in 2026, I needed to upgrade how I powering my setup. And that’s when I discovered the magic of GaN (Gallium Nitride) power supplies.
Unlocking Consistent, High-Quality Audio: The Secret You Might Be Overlooking
Optimize Your Microphone Placement for Clearer Sound
Start by placing your microphone at mouth level, about 6 to 8 inches away, to capture your voice directly and reduce room noise. Use a shock mount to minimize vibrations—think of it as cushioning your mic from desk bumps. During a recent shoot, I experimented with different angles, and I found that angling the mic slightly below or above my mouth reduced plosives and sibilance, making my recordings smoother and more professional. For detailed positioning strategies, check out this guide.’},Many podcasters and streamers believe that investing in the most expensive equipment guarantees professional sound, but in my experience, there’s more to it. A frequent misconception is that XLR microphones inherently sound better than USB models. While XLRs have been the industry standard, today’s high-quality USB mics can outperform older XLR setups, especially when paired with the right recording environment and processing. Moreover, some assume that more gain on an audio interface always results in better sound; however, excessive gain can introduce hissing and distortion. Instead, managing gain carefully and employing proper preamp techniques is crucial. It’s also a myth that all dynamic microphones are better for noisy environments; in reality, some condenser microphones with proper shielding can handle high sound pressure levels and still produce crisp recordings. Understanding these nuances helps creators avoid costly mistakes and optimize their setups effectively. Don’t forget that proper placement, room treatment, and audio processing often have more impact than mic choice alone. For advanced insights on fixing common problems like muddiness and sibilance, check out this guide. Have you ever fallen into this trap? Let me know in the comments.
Routine Checks Are Your Best Friend
Regular maintenance can prevent many common issues that arise over time with your USB microphone or XLR setup. I personally recommend setting a weekly reminder to inspect cables for wear, dust off your equipment gently, and ensure all connections are secure. This small habit saves me from sudden drops in audio quality, which can be frustrating and time-consuming to troubleshoot later.
Tools That Make Maintenance Easier
Investing in a few key tools can extend the lifespan of your gear. A pair of compressed air cans helps keep dust out of sensitive components, especially in USB microphones that have internal electronics. I also use a cable tester to verify that my XLR cables are functioning properly—any subtle noise or hum can often be traced back to a bad connection, and catching that early prevents long-term damage.
Long-Term Results Come from Consistency
Whether you’re streaming daily or producing weekly podcasts, maintaining consistent settings and routine equipment checks ensures your audio remains high quality. I’ve found that documenting my setup configurations, including gain levels and microphone placement, helps me quickly revert to a known-good state after troubleshooting. This practice minimizes downtime and keeps my workflow seamless.
Scaling Your Setup Without Stress
If your audience and production demands grow, scaling your equipment requires thoughtful planning. Upgrading to hotter USB microphones with built-in auto-leveling features can simplify your setup, reducing the need for additional hardware and room treatments. Additionally, consider investing in low-profile mounting solutions that save space and enhance your setup’s reliability, minimizing accidental disconnections or damage during busy streaming sessions.
How Do I Maintain My Microphone Over Time?
Implementation is key. Schedule bi-monthly checks for dust, loose connections, and software updates for your audio interface or recording software. Keeping your cables organized not only prolongs their life but also prevents accidental tugs that could damage sensitive connectors. Consider using cable organizers or labels to streamline your workflow. For more insights on protecting your recordings from electrical issues, I recommend reviewing this guide. As a pro tip, try calibrating your gain settings using a high-gain audio interface to reduce hiss and ensure your voice remains clear and professional sounding over the long haul.
What I Wish I Had Known About Balancing Gain Early On
In my journey with podcast microphones, I often chased higher gain settings, believing louder was better. It wasn’t until I experienced hiss and distortion that I realized that managing gain carefully is crucial for pristine recordings. Setting the gain too high amplifies noise, while too low can make your voice faint. Finding that sweet spot, especially with new high-gain audio interfaces, transformed my sound quality overnight.
The Power of Room Acoustics and Placement
Many overlook how vital their environment is. A small, untreated room can muddy your voice regardless of how nice your USB microphone or XLR setup is. I learned that simple room treatments like soft furnishings or strategic mic placement can make a world of difference. Moving my microphone closer—around 6 inches—and incorporating portable sound shields significantly reduced echo and background noise, unlocking clearer, more professional vocals.
How Selecting the Right Gear Saved Me Time and Money
In trying to upgrade, I initially bought several pieces of gear, not knowing which would serve me best. It was a costly mistake. Eventually, I focused on trusted tools like top-rated XLR microphones and learned to match my interface accordingly. Choosing gear with features tailored to 2026 standards, such as built-in DSP or auto-leveling, prevented future frustration and made my workflow seamless. Spending time researching and investing in reliable equipment truly pays off in long-term audio quality.
Where My Passion for Perfect Audio Continues
If you’re passionate about producing top-notch content, remember that fine-tuning your setup is an ongoing process. Small improvements—like proper cable organization, routine maintenance, and staying updated with latest technology—compound to create that professional sound. Don’t be discouraged if progress feels slow; every tweak brings you closer to audio mastery. Keep experimenting, learning, and sharing your successes.